Installing Zabbix to monitor PaperCut
Our resident fixer from the Welsh Valleys took a huge leap out of his comfort zone and started to play with Linux. We think he was secretly impressed by the ease and speed of the process. With this new found confidence we tasked him with installing Ubuntu server and running Zabbix (an open source network monitoring and application monitoring tool).
Zabbix can be used to monitor the health of PaperCut servers and we wanted to show how easy this was to get up and running. Paul wrote up his work and at the same time discovered that Linux screen shots make for boring pictures!
For this demo we have installed and configured Ubuntu server version 16.04.2, Ubuntu can be downloaded from the Ubuntu website.
- Step 1 - Install Ubuntu
- Step 2 - Update the OS
- Step 3 - LAMP install
- Step 4 - Database creation
- Step 5 - Start the Zabbix install
- Step 6 - Create the Zabbix Database
- Step 7 - Edit Zabbix conf file
- Step 8 - Finish Zabbix install
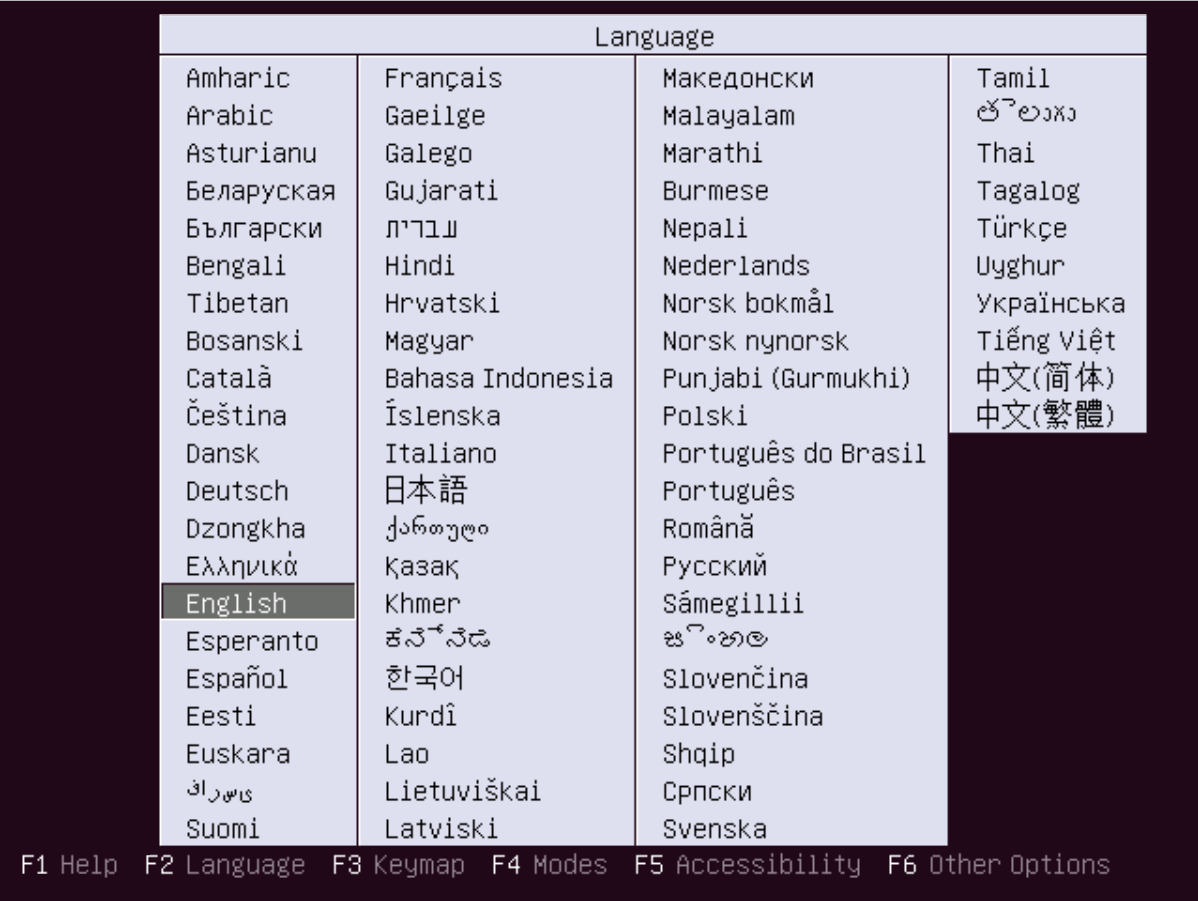
Step 1 - Install Ubuntu
There are endless guides on how to get Ubuntu up and running so feel free to have a Google before continuing.
Please note:
- Give the server a sensible hostname (perhaps zabbix)
- Remember to pick your keyboard language (we went with GB)
- Create a user on the server (we went with selectecadmin)
- Choose standard system utilities during the software selection screen, you can also install OpenSSH server if you wish to remotely manage the machine
We have installed this on a virtual machine for convenience, but any hardware capable of running Ubuntu will do.

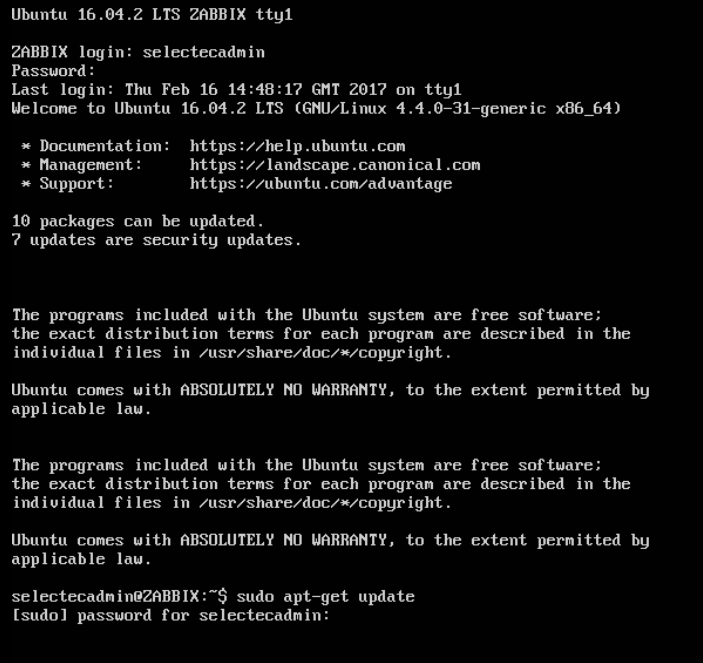
Step 2 - Update the OS
It is good practice to update Ubuntu to the latest version, updates are downloaded directly from the internet.
To update you need to run two commands, first login to Ubuntu as the user you created during setup and run the following two commands:sudo apt-get update and then sudo apt-get upgrade
Ubuntu will require your password to execute the commands. Please type one command at a time and when finished Ubuntu will be up to date.

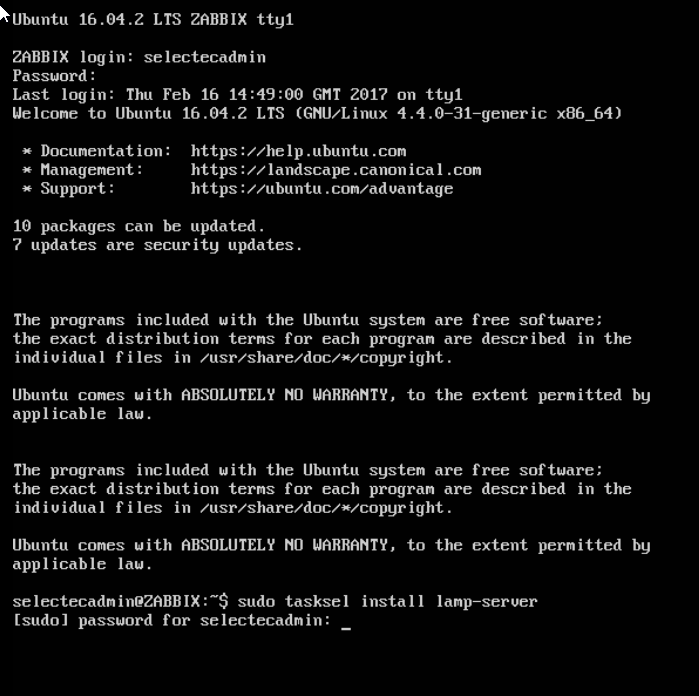
Step 3 - LAMP install
Next we need to install the LAMP services you can do this by running the following command
sudo tasksel install lamp-serverYou will need the password you created earlier to start the install process.

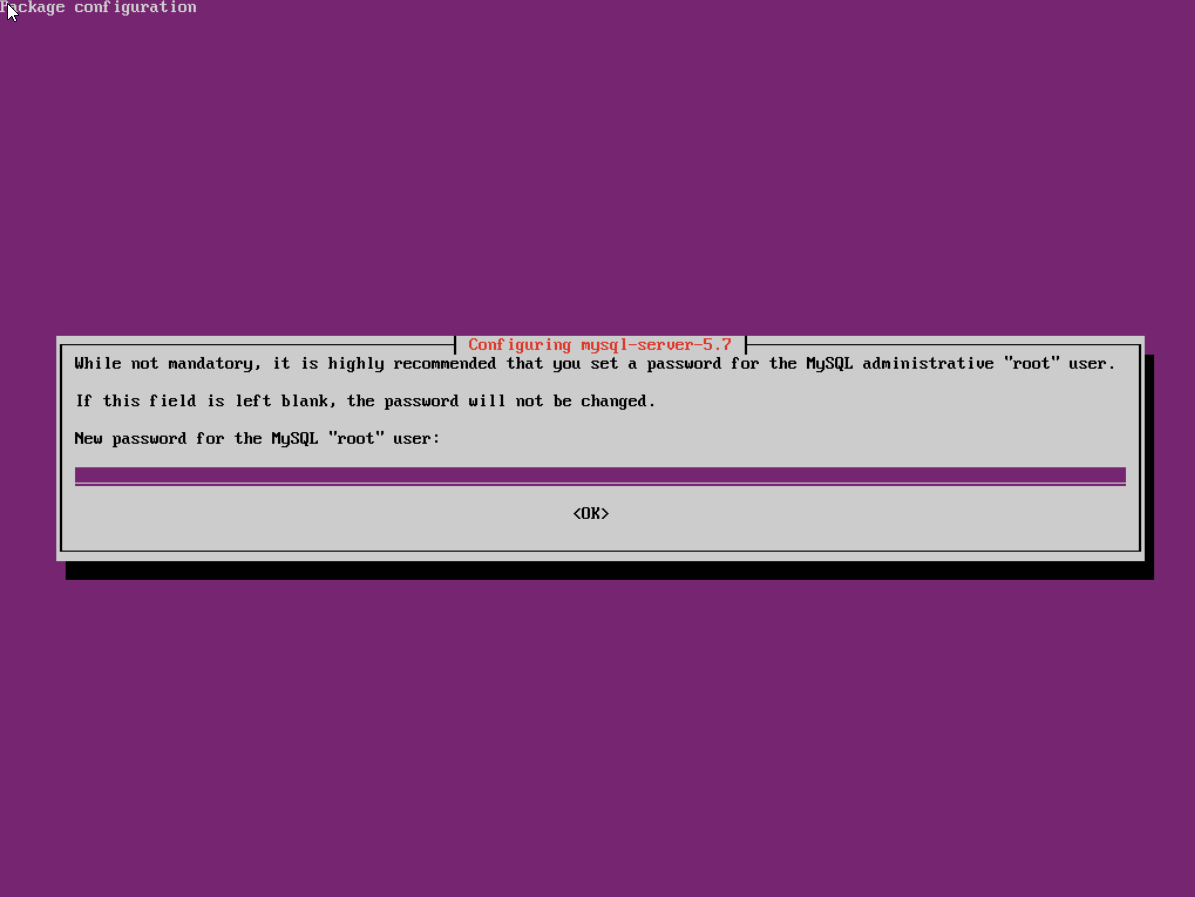
Step 4 - Database creation
As you can see, LAMP installs the web services needed to run Zabbix this includes Apache, PHP and MySQL
When lamp is being installed you may be asked to create a MySQL database. Please follow the on screen instructions, these will guide you through the the process step by step.
Step 5 - Start the Zabbix install
Now we are getting somewhere, we have Ubuntu and the pre-requisites installed.
Next we need to install Zabbix, to do this from the terminal window, start by typing:
sudo wget http://repo.zabbix.com/zabbix/3.0/ubuntu/pool/main/z/zabbix-release/zabbix-release_3.0-2+xenial_all.debNow, package the install
sudo dpkg -i zabbix-release_3.0-2+xenial_all.debMake sure any updates for Zabbix are downloaded
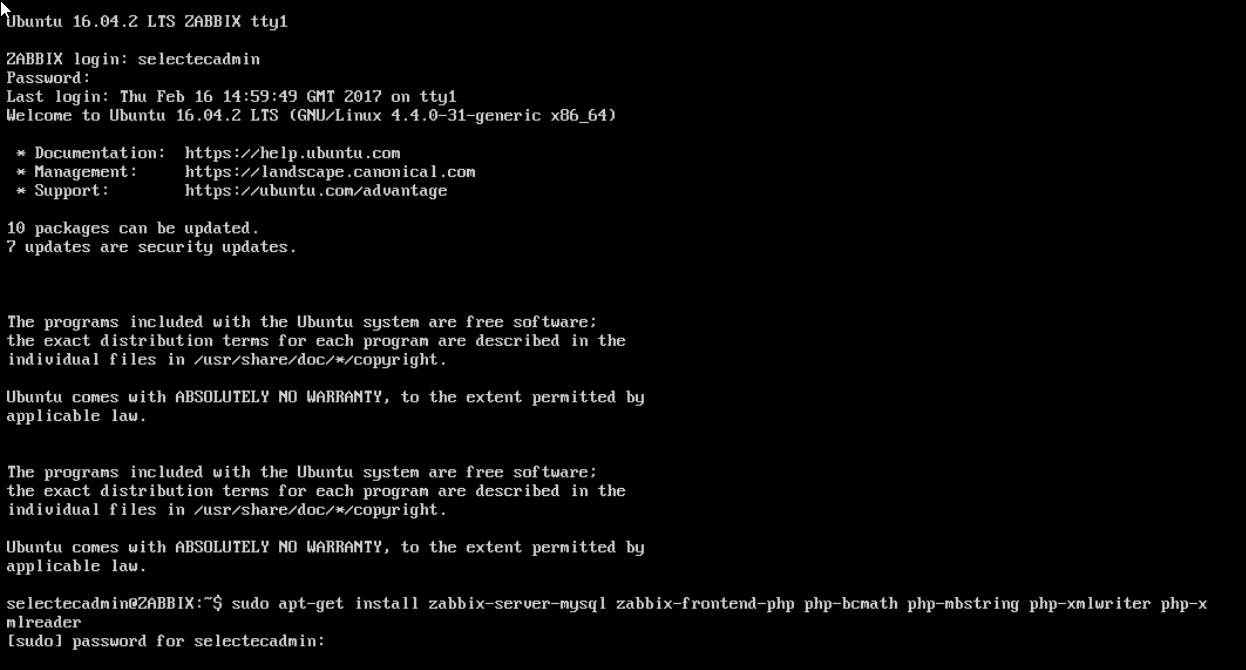
sudo apt-get updateNext install Zabbix and the other tools needed for it to run successfully by running:
sudo apt-get install zabbix-server-mysql zabbix-frontend-php php-bcmath php-mbstring php-xmlwriter php-xmlreader
Step 6 - Create the Zabbix Database
Now create a MySQL user and password and set up MySQL to run Zabbix.
Firstly type the below commands to create the database and character set
mysql -u root -p
create database zabbix character set utf8 collate utf8_bin;Now, grant the user correct permissions to access the database.
grant all privileges on zabbix.* to zabbix@localhost identified by 'EnterAPasswordHere';
Once done, exit the MySQL application and save any changes.Next install the Zabbix schema, to do this type via the terminal window type:
cd /usr/share/doc/zabbix-server-mysql
zcat create.sql.gz | mysql -u zabbix -p zabbix
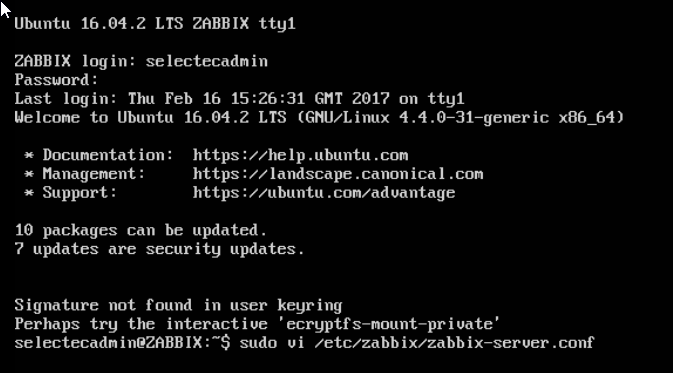
Step 7 - Edit Zabbix conf file
Next we need to edit the server configuration file so it has the database password for the database we setup earlier.
Run this command which will open the file.
Sudo nano /etc/zabbix/zabbix_server.conf
Look for the line that reads DBPassword and enter the password you setup for the database. Save your settings and close this file. If you prefer, you can use nano instead of VI which maybe easier for users new to Linux.
Save the file by pressing ctrl+x and you will be prompted to save the file.
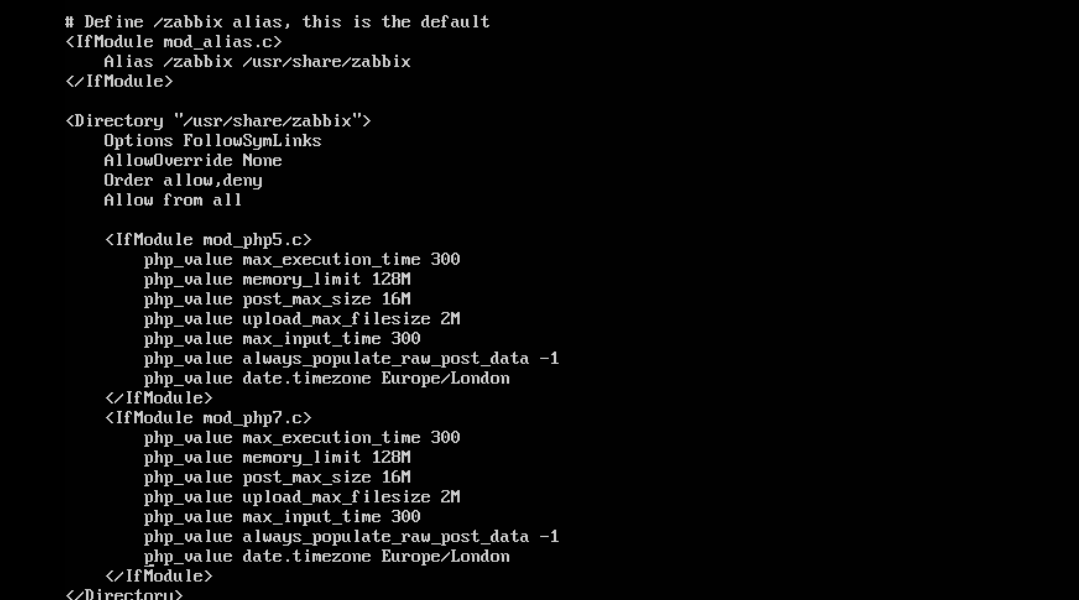
While you are here make sure Zabbix is using the correct language, from a terminal window type:
sudo nano /etc/zabbix/apache.conf
There should be 2 lines near the top that mention date.timezone, make sure these are unhashed and labeled as the timezone you are in, save this file and exit this application.Then type:
service apache2 reload
service zabbix-server restart

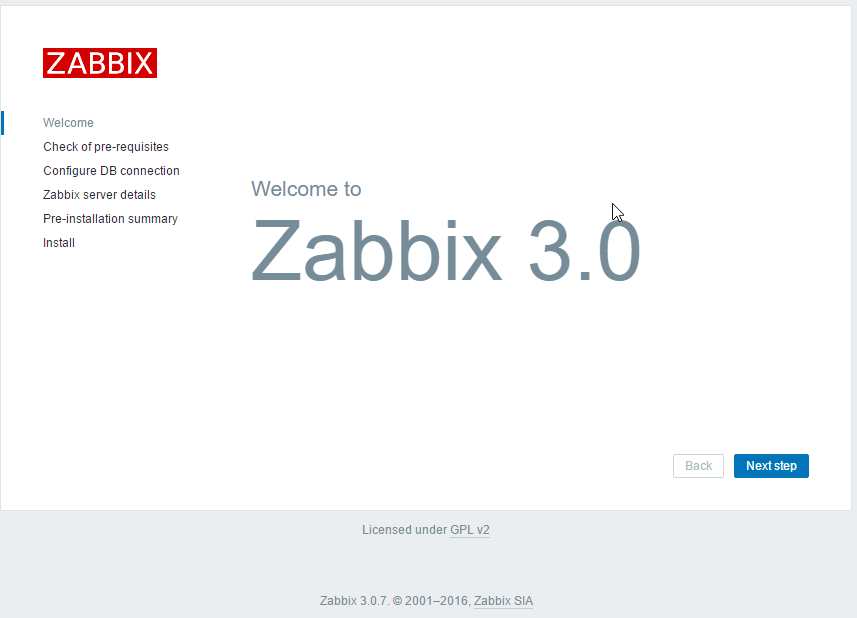
Step 8 - Finish Zabbix install
We now need to login to the web interface of Zabbix and finish the setup process, to do this navigate to:
http://*host or IP address of server*/zabbix
Login with the default details below
Default User: Admin
Default Pass: zabbixFollow the Zabbix installer options until finished.
Click the read more link for information on how to setup Zabbix with PaperCut, this will allow you to monitor the health of PaperCut servers via the Zabbix UI.